Tuesday, 30 October 2018

Pumpkin Carving 2018

This year, my sister and I decided to do DreamWorks Dragons (Toothless and Stormfly) on our pumpkins. However she was busy at work, so I ended up carving the pumpkins myself.


From cutting into the pumpkins to make the lid, to completing both pumpkins, this took me about 7 hours to do!

Here are the finished pumpkins:


I am really pleased with the way these turned out and will have to think of something really cool to do next year...

Please leave a comment below to let me know what you think and if you have any suggestions for next year...

Happy Halloween!!!

Saturday, 13 October 2018

DIY Upcycled "Pringle" Jewellery Display

In preparation for my stall at the "Caddonfoot Coffee & Crafts" morning, I wanted to make something a little different to display some of my jewellery on.

I was looking around my 'craft' room and saw some cardboard tubes. I was trying to work out a way to make them stable and I thought "Pringle tubes stand fairly securely on their own - I could use a pair of those!"


You will need:
Materials:
2 x Pringle tubes
25cm wooden skewers (I used 10)
Self-adhesive Marble effect (or other 'look' of your choice)

Equipment:
Scissors
Craft knife
Ruler
Tape measure (for dressmaking)
Drill (+ jumbo lolly stick)
Pencil
Marker pen


I started by using the marker and ruler to measure where I wanted the skewers to go. I alternated the side of the ruler that I made the mark on so that the skewers would be higher at the back - this way I could use the back skewers for price signs, etc.

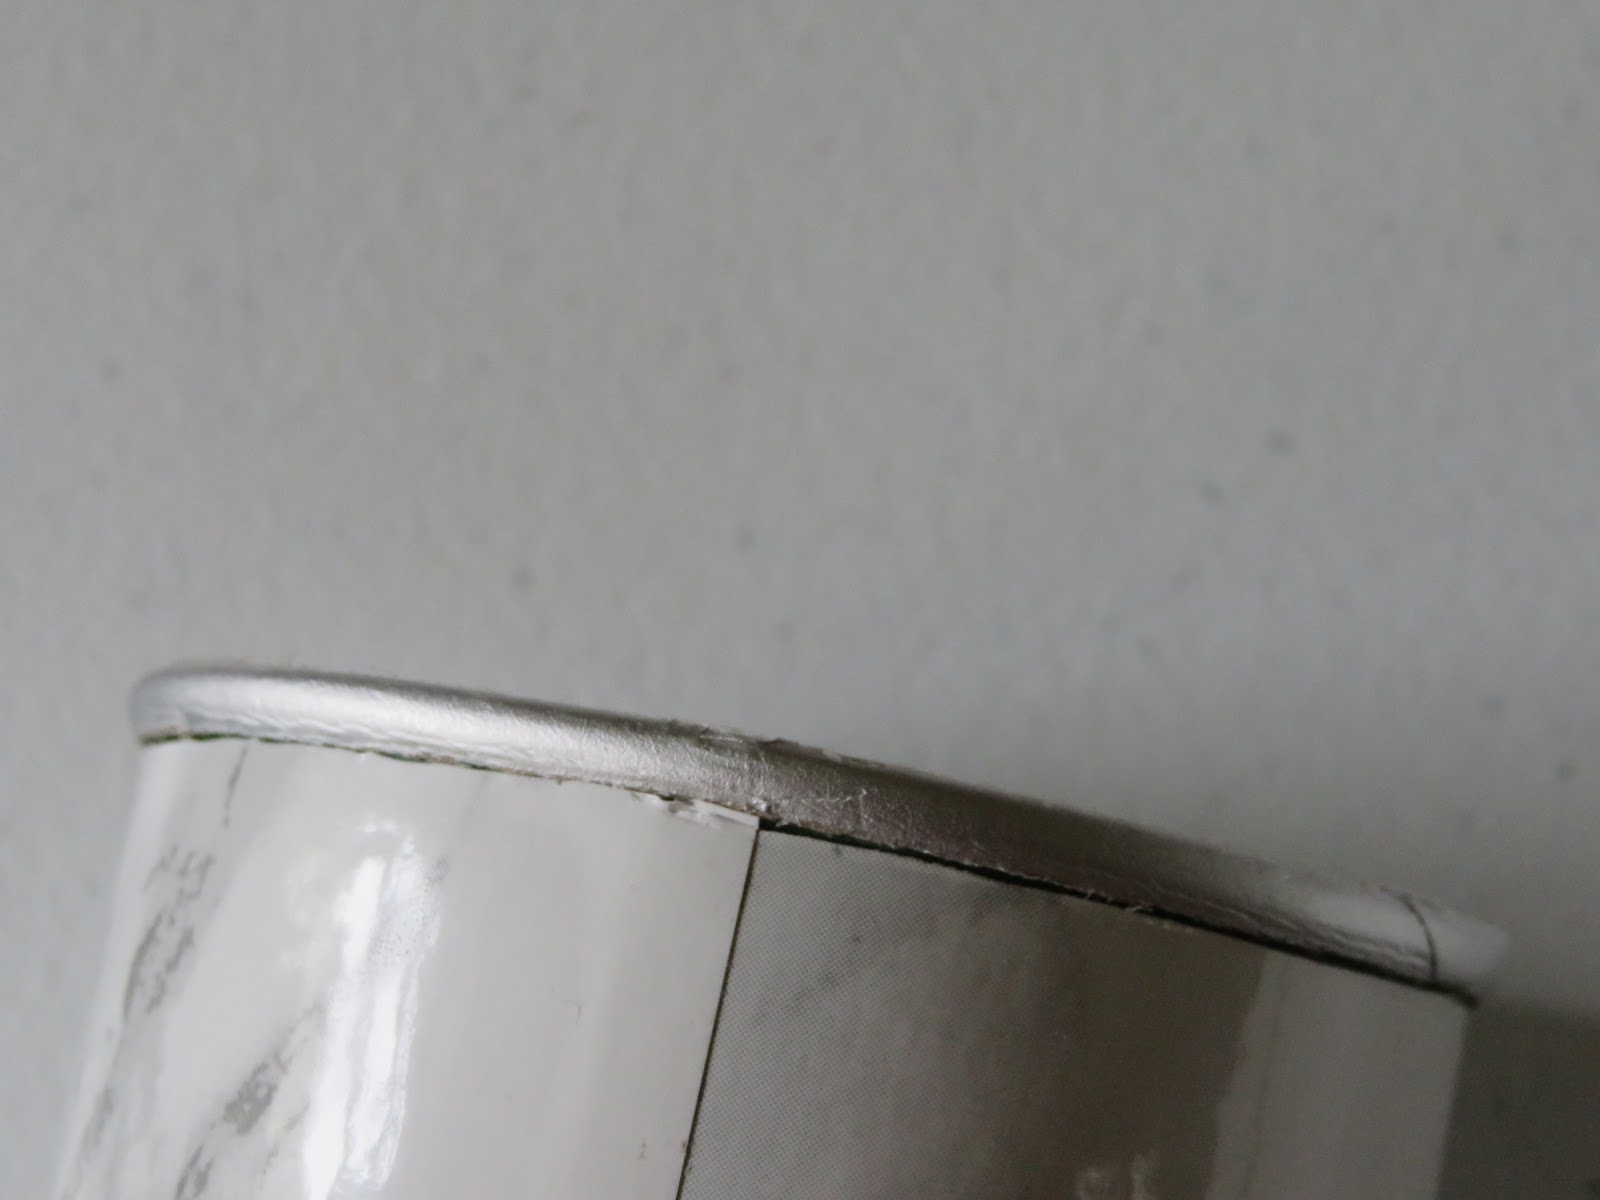
The distance between the skewer holes will depend on how many you want to use - for mine a lined up the straight end of the ruler with the top of the metal rim at the base and measured from the top of the tin down. I made marks at 23.5cm - 5.5cm every 2cm e.g. 21.5, 19.5, 17.5, etc.

NOTE: when you do the other tube, make sure the marks MIRROR the first tube i.e. if you made the higher marks on the left of the ruler, make them on the right for the second tube.


When drilling the holes, I used a jumbo lolly stick to protect my fingers and to help prevent the tube bending under the pressure.


I then used one of the skewers to make the holes big enough for the skewer to slide in easily.


To cover the tubes:
I measured the height and outer circumference of the tubes, then marked it on the paper side of the self-adhesive marble and used the scissors to cut it out. (I needed 25.3 cm x 24cm for each tube).

I then carefully and VERY slowly, peeled off the paper and stuck the marble to the tube - this part is really tricky and I asked for help with the second tube as I really struggled with the first one. Even with help, the marble went a little squint - this is ok though as the excess trimmed off very easily and it gave a much neater finish.


I then used my knife to make a little 'x' where the holes were (be sure to keep your fingers out of the way) and used a skewer to make the marble stick to the edge of the holes. Repeat for both tubes.


I'm really happy with the way this display turned out - I think it is simple but classy. The skewers also fit inside the tubes for easy storage/transport. I made this to display some of the packaged sets that I've made and they also fit inside the tubes but I haven't yet decided if I will use this display for the sets or something else instead. Please leave a comment below to let me know what you think I should display on it...

Packaged sets
sets and skewers in storage
Treble Clef
Earrings

While I was trying to make some seashell pendants (with long chains), I needed an extra pair of hands to hold the pendants so that I could see how they would look when hanging. I discovered I could use my Pringle display to do this, which meant I could work on it myself without disturbing any family members.


If any of you give the "Pringle display" project a try, please leave a comment below to let me know how you get on...


Sunday, 7 October 2018

Upcoming Stall at Caddonfoot Coffee & Crafts

On Saturday 20th October, Caddonfoot Church is having a "Coffee & Crafts" morning from 10am - 12 noon at the Volunteer Hall, Galashiels. This is open to everyone, not just church goers.

This year instead of the usual "books" and "nearly-new" type stalls, there will be tea/coffee and home-baking along with stalls for other crafters - such as handmade  cards, soaps, jewellery and a variety of other crafts.


I am going to have a stall to sell some of the jewellery and "postcards" I have made. I will also be selling copies of the book of my Aunt's poetry that I illustrated "Reflections of the Heart" - check out "A Year in the Making" blogpost for a sneak preview of some of the illustrations!

My stall at the Clovenfords Summer Fair 2018


Please leave a comment below if you think you'll be able to stop by, it'd be great to meet any of you...


Sunday, 30 September 2018

September - DIY Upcycled Pencil Holders

A while ago now, I saw an idea for marble effect pencil holders on Pinterest. I've adapted it a bit by adding foam as a base on the inside (so that it doesn't bang when you put things in it) and as a rim around the top so that you don't get cut by any little sharp edges.


You will need:
2 x food tins (thoroughly cleaned)
Foam (black for the base + another colour to match whatever self-adhesive you choose)
Self-adhesive marble effect (or other self-adhesive to your taste)
Ruler
Pencil
Scissors
Double sided tape


I started by pressing the tins into the foam. I then measured the diameter (you'll need this later) and cut out the circles.


To make the foam rims, I used a ruler to measure the distance between the top of the tin and a bit below the sharp edges (on my tins 1.5 cm). I then marked 1.5cm and 3cm from the short edge of the foam and cut two strips. I created a ring with the foam and put it inside the top of the tin then marked and cut off any excess. I put a strip of double sided tape along the whole foam rim and carefully stuck the foam to the tin.


I then put an 'X' of double sided tape on the back of the foam base and stuck it inside the tin, carefully pushing out any air from the centre to the edge.


I then measured the height of the tins and marked it on the paper side of the self-adhesive marble.

To work out the circumference of the tins, I cheated a bit and used Google - all I had to do was type in the radius (half the diameter). The diameter of my tins was 6.75cm so the radius was 3.375cm which gave a circumference of 21.21cm - I rounded it up to 21.3, to make sure I wouldn't have any gaps. I then marked 21.3cm on the paper side too, and cut out the two pieces.

I peeled back about 5cm of the paper and carefully lined up the corners of one of the short ends with the top and bottom of the tin. Then I slowly pressed a section of the marble to stick it to the tin and peeled back more paper and repeated until the whole tin was covered. Repeat for other tin.


And there you have it! Two marble effect pencil holders ready to use!


If any of you try this, please leave a comment below to let me know how you got on...


August - More Local Ruins

In August, I went exploring some more local ruins including Buckholm Tower, Whytbank Tower and (even though we already knew about it) Elibank Castle.

I did these paintings on 18 x 24cm canvas boards, like Torwoodlee Tower, so that I could scan them and make "postcards". I used Inktense pencils and water-brushes to add the colour and grass and tree textures. Then I used a fine-liner pen to add the detail to the bricks/walls and fences, and to define the edges of the ruins and trees.

Buckholm Tower

Buckholm Tower
18 x 24cm
I first saw Buckholm Tower from across the valley as we were going in to Galashiels and at that point, I didn't know which ruin it was.

I really like the fences in this painting because I think they help lead your eye up to the Tower itself. I also think the trees/bushes are quite effective.


Whytbank Tower

Whytbank Tower
18 x 24cm
Whytbank Tower was restored fairly recently but it is surrounded by ruins of the rest of the "settlement". The gardens here are well kept and had some beautiful flowers.

I think the painting turned out really well, especially the trees and ruined buildings in the foreground. I also like the sky and the variation in the blue around the clouds.


Elibank Castle

Elibank Castle
18 x 24cm
Elibank Castle was one of the first long walks we did as a family when we moved to Scotland. I only recently learned the history of it though - there is quite a funny story about "Muckle Mouthed Meg"!

I think the texture I got into the grass/bracken is quite effective and helps add some depth to the painting. I also tried to put in a few foxgloves to add a bit of interest to the foreground.


Please leave a comment below to let me know what you think or to vote on your favourite...


Saturday, 29 September 2018

July - Summer Church Painting

Over the last two years, I've been slowly doing 4 seasonal paintings of Caddonfoot Church and I finished the fourth one in July. I did them in a bit of an odd order as I started with Winter, then did Spring, then Autumn and finally Summer. I did all of these paintings on paper, using Inktense pencils, water-brushes and then fine-liner.


Please leave a comment below to let me know what you think or to vote on your favourite...


June - Torwoodlee Tower

I've always been interested in ruins and decided to look at the local map to see which ruins, if any, were in the area. To my surprise, I discovered there were several in the area. A friend recommended Torwoodlee Tower, so I decided to go there first.

First sight of the tower
The day I went was beautifully sunny which showed the colours at their best. Along the path, I saw a beautiful Orange-tip Butterfly and it landed long enough for me to take quite a close-up photo:


I was pleasantly surprised to find that the groundsman cut the grass regularly which made access much easier. There was also an information board with some interesting history on the tower:

(Click picture to enlarge)


This tower dates back to 1601 and much of it is still standing. I decided to use this opportunity to take a variety of photographs for reference when I got home.


I took about 50 photos on this trip so when I got home, I went through them and decided on the size of canvas board I wanted to use. I chose 18 x 24cm as it is the biggest I can do that will fit on our scanner - that way I could turn it into "postcards" later.

I used Inktense pencils and water-brushes to add the colour and texture to my painting. This was the first painting that my tree technique actually worked, so I was REALLY happy with it! I then used a fine-liner to add the brick detail and to define the edges of the trees and the tower.

Torwoodlee Tower
18 x 24cm

Please leave a comment below to let me know what you think...