As the run up to Christmas got closer, I decided to make a small, fun, "Nativity" scene and (me being me) I wanted to re-use as many materials as possible. After looking on Pinterest for some inspiration, I decided to use corks for the figurines and cardboard for the base and background of my Nativity scene.
Throughout 2018, I went through a phase of watching as many British "Art Attack" videos (on YouTube) as I could find. One of these videos had a section on creating your own "fantasy island" - you may think this is a bit off topic but I have a point, I promise! To make said island, you needed to make a sort-of paper-mache using kitchen paper and PVA glue mixed with a little water. I decided to use this method to make the "stable" for my Nativity scene.
Growing up, one of my favourite versions of the Nativity story was "The Crippled Lamb", which (as far as I can remember) had the "stable" as more of a cave in a hillside, which is what I wanted mine to look like.
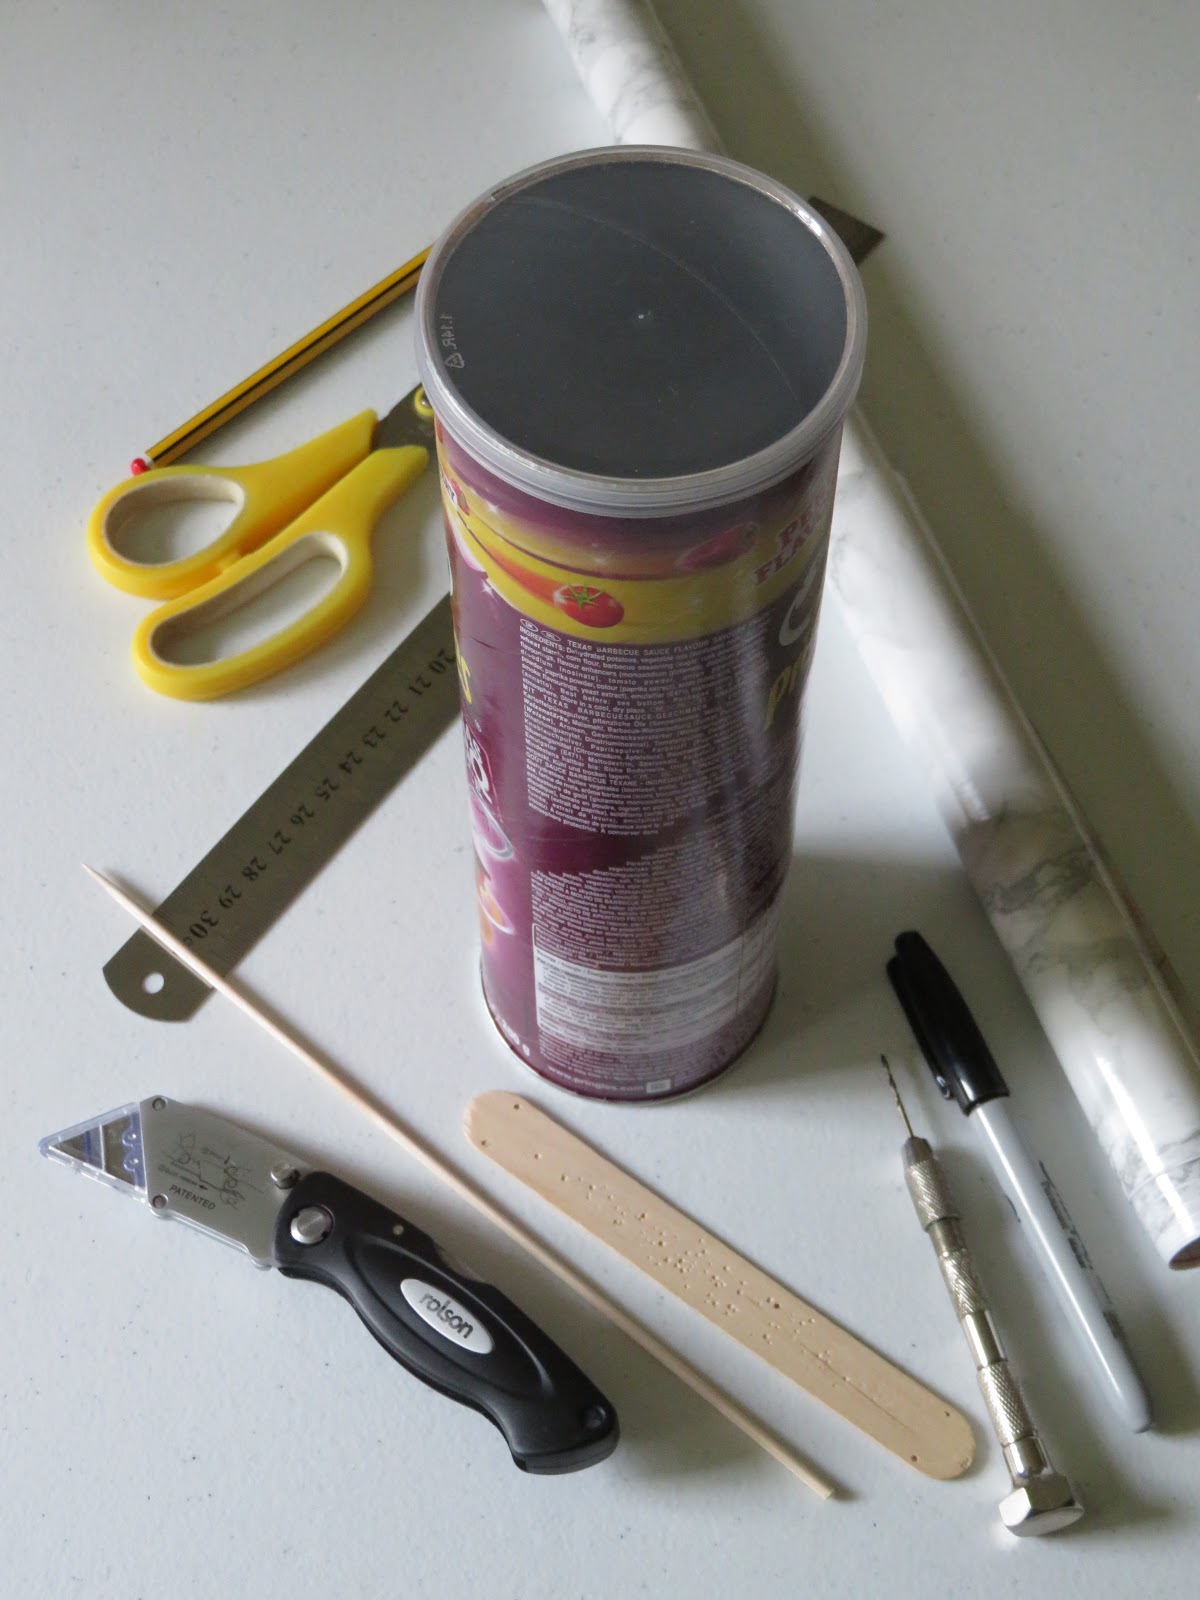
You will need:
For the figurines:
Corks (I used craft corks which were uniform size)
stiff card (I used 300gsm)
cocktail stick
florist/beading wire
grey fine-liner pen
Acrylic paints & metallic gold craft paint
paint brushes
knife and scissors
Cardboard (2 same-size flaps from cardboard box + 1 approx. 2cm by slightly shorter than flaps)
Kitchen paper
PVA Glue
Acrylic Paints & metallic gold craft paint
sponge
paint brushes
silver/gold Sharpie Pens
Glue gun
Knife
I wasn't sure if this idea would work out so I didn't photograph the stages of making the figurines. I made 11 figurines (3 wise men, 3 shepherds, 2 angels, Mary, Joseph and Jesus) plus 3 "rocks", all using craft corks to ensure the characters were all uniform size/shape. I used a pencil to sketch the faces and "clothes" onto the corks and then used acrylic paint (mixed with a little water) to paint them. When they were all painted and dried, I used a grey fine-liner pen to define the facial features and other details I had sketched before hand. I chose to give the shepherds a crook and a lamb, and to give the wise men the traditional gifts (gold, frankincense and myrrh). For the angels' wings I used (clean) scrap card and PVA glue. For their halos I used more scrap card, metallic gold craft paint, florist/beading wire and jewellery pliers, I also used a cocktail stick to make a small hole in the top of their heads to glue the wire into.
Once the characters were made, I started working on the cave/stable. First, I drew a rough outline of the shape I wanted the stable to be - make sure you leave a straight edge at the back, 0.5cm away from the back edge, so that the background fits properly. I also drew round the cork pieces I was using for the "rocks" so that I knew I had enough space for them and so that I knew where to leave a slightly flat area for each of them.
I then gradually started using the kitchen paper/glue mix to form the 3D shape. This took a long time as the glue had to dry before I could completely finish making the stable. I used cardboard discs to make sure the area for the rocks would be flat.
I then used a couple layers of white tissue paper to cover the whole hillside, to give uniform texture and to help keep the cardboard discs in place.
I then placed the other flap above/behind the stable/base flap to draw the background - continuing the edge of the stable onto the background to give the appearance of distance. I also marked where I would put the star above the stable.
Once I was happy with the background, I started painting it and the stable using a brush for the sky, sponges to add texture to the hills and rocks. I also used a sponge for the ground and inside the stable.
When the sky was completely dry I used gold and silver sharpies to add the stars and metallic gold craft paint to add the Star above the Hillside.
For ease of storage, I decided to make the background detachable by cutting a 2cm strip of cardboard which was a bit shorter than the flaps and attaching it to the base/stable flap using a glue gun. I then slotted in the background flap and placed the figurines (as seen in top image).
And there you have it - a DIY Cork Nativity!
Please leave a comment below if you give this a try, have any questions or if you have any suggestions for projects I should try...